This section fulfills the dDevice Grouping NEMSIS requirement. For more information, see the NEMSIS Data Dictionary.
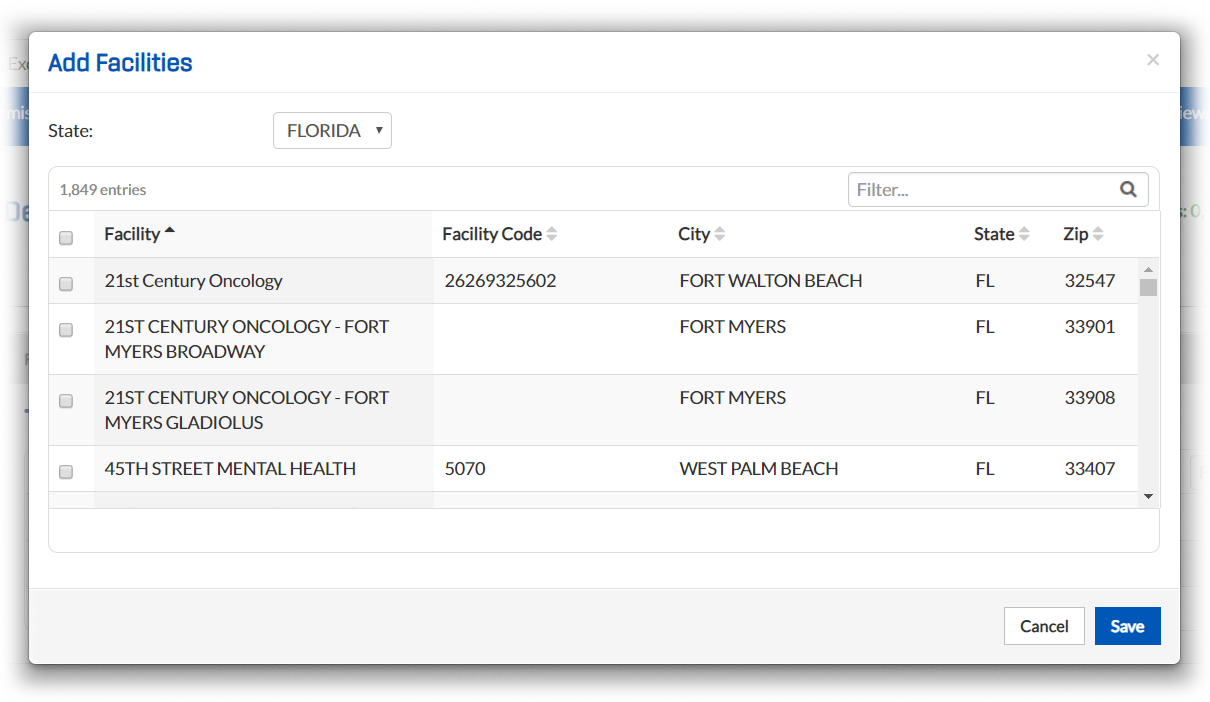
To add a facility
Note: To search for specific facilities, use the Filter field. By default, facilities are listed alphabetically.
-
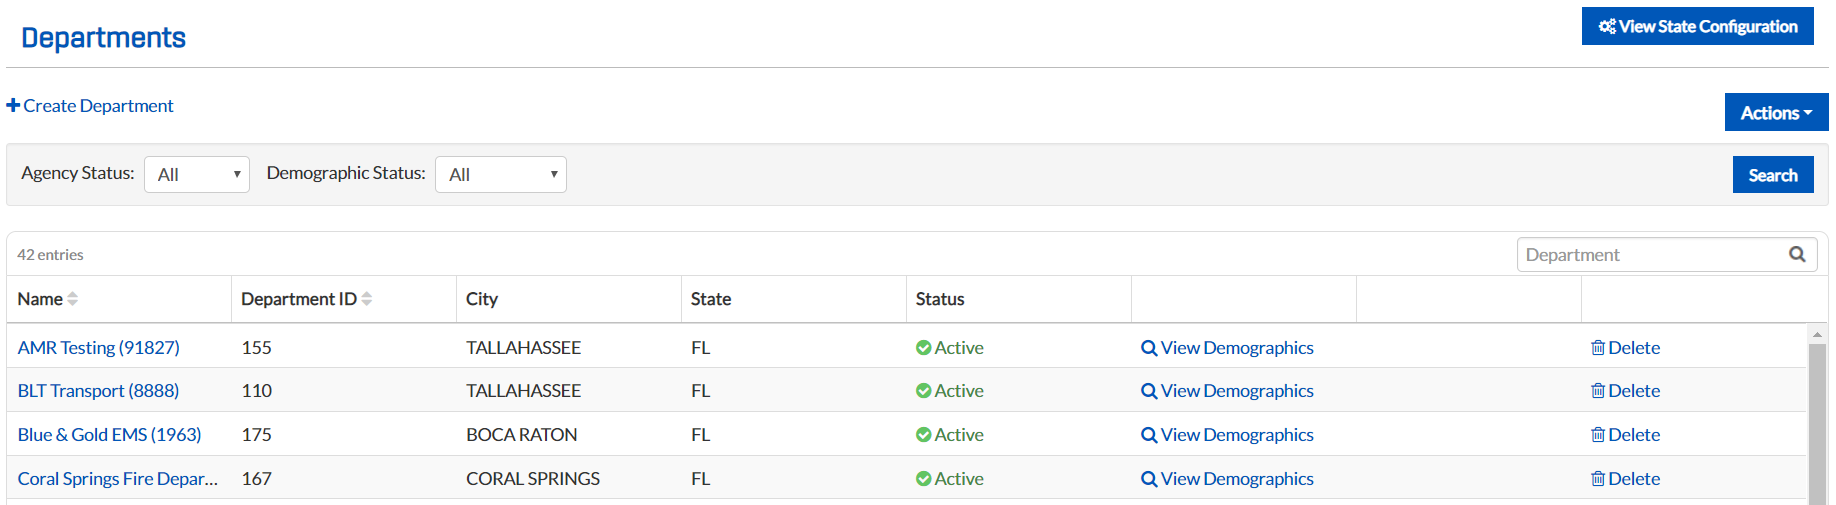
From any page, go to Administration: Departments. The Departments page opens.
-
Locate the appropriate agency and click its corresponding View Demographics link.
Tip: Use the Advanced Search toolbar to quickly locate a department by Agency or Demographic Status. -
In the left sidebar, click the Facilities tab.

-
Click Add Facility.
-
Select the name of the facility from the table. You can select more than one facility at a time.
-
Click Save.
Tip: Click the name of a facility to edit its details. Click Delete to delete a facility from the list.
When you add a facility and edit its details, you have the option of setting the facility's Destination Type. If you select a facility's Destination Type, this value automatically populates the Location Type field when the responder chooses this facility as the Destination Facility.
To set fax preferences for a facility
Tip: You can set universal fax preferences for facilities in your department by going to System Settings: TripTix Faxing Settings. Even by setting universal fax preferences, you still have the ability to customize fax preferences on a facility-by-facility basis.
-
From any page, go to Administration: Departments. The Departments page opens.
-
Locate the appropriate agency and click its corresponding View Demographics link.
Tip: Use the Advanced Search toolbar to quickly locate a department by Agency or Demographic Status. -
In the left sidebar, click the Facilities tab.
-
From the list of facilities, select the facility for which you want to set fax preferences. Details about the facility appear in a new section below the Facilities section.
-
To select the fax types the facility should receive:
-
Go to the Fax Preferences section and click Add Fax Type. A drop-down field opens in the table.
-
From the drop-down list, select the fax this facility should receive.
-
-
If a fax type listed should not be received by this facility:
-
In the Fax Preferences section, click the Delete icon associated with the applicable fax type.
-
When the confirmation window opens, click Ok.
-
-
Click Save.