About Flexible Business Rules
With CDX, you can supplement business rules for existing NEMSIS guidelines with flexible business rules (FBRs) created according to your departmental protocols and/or unique needs.
Once you have a specific rule in mind, the rule must be named and a NEMSIS software version must be selected. Rule names should be unique and clearly indicate the rule’s action, parameters, and/or purpose so that you can readily identify it from others. If you manage multiple departments, and some abide by the NEMSIS 3.4.0 standards and others adhere to those set by 3.3.4, you will have to select which particular version this rule should apply to.
To Create a Flexible Business Rule
Note: Required fields are marked with an asterisk (*).
-
From any page, go to Administration> Business Rules. The Business Rules page opens.
Note: The image below reflects the page as seen by Department Administrators. What you see may be slightly different if you are a DOH Administrator.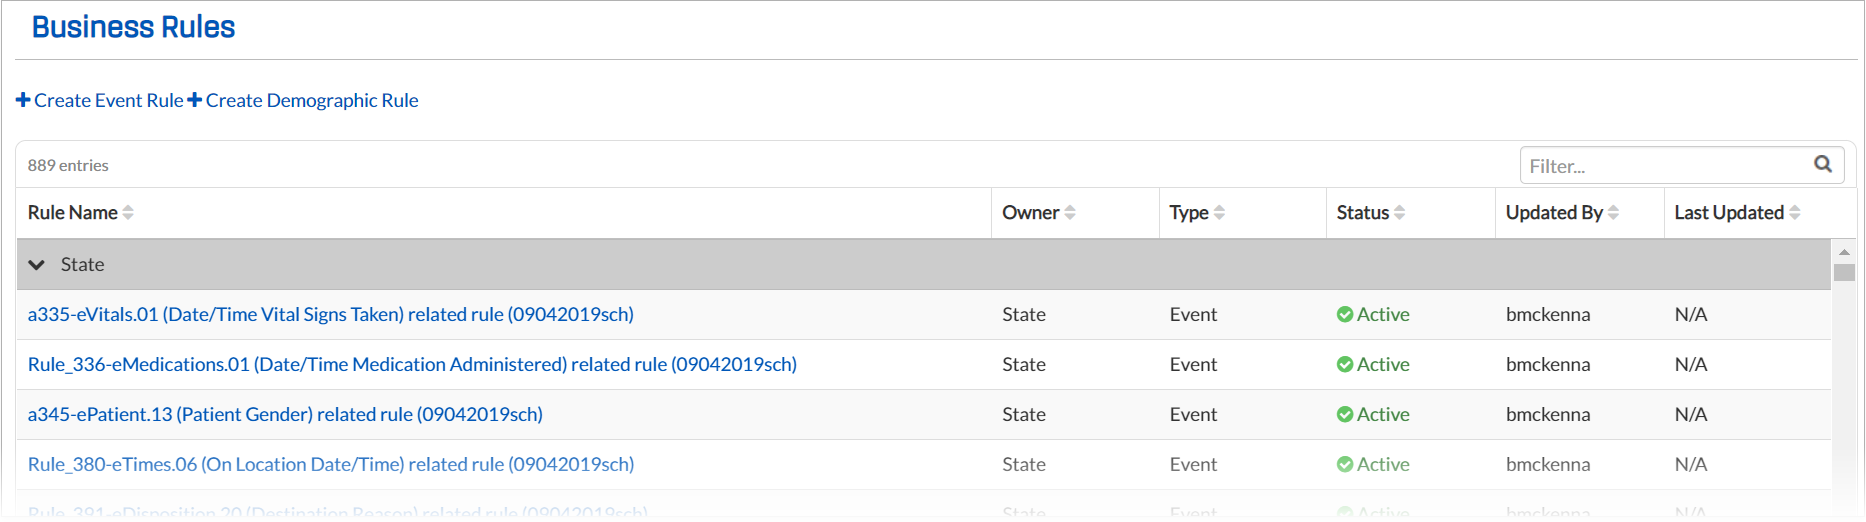
-
To create a rule, click Create Event Rule or Create Demographic Rule as appropriate. The Create Rule page opens
-
Assign your new rule a unique and descriptive name at (1).
-
In the IF section of the Create Rule page—at (2)—click Add Requirement Group.

- Use the Select a Field dropdown list to find the NEMSIS rule you would like to customize. You may clone a requirement group and/or add additional requirements, as needed.
Optionally, you can perform any of the following actions:- Clone an existing rule
- Add an Else+If condition
- Add an additional requirement to your new rule
- Clone an existing requirement group
- Clone the newly created requirement group
If you wish to add an Else-If condition, click Add Else-If. Complete the associated fields in the new section as appropriate.
To delete a requirement group that was added by accident or is no longer necessary, click Remove Group on its row.
To Add a "Then" Condition
- In the THEN section, at Statement Severity, select either Warning or Error. Choose one based on if, when this rule's conditions are met, it should trigger an error that will prevent finalization, or merely a warning.
Tip: See Rule Components and Structure for details on action severity, so you can make the appropriate selection for your rule.
To Add an Action to Follow "Then" Conditions
- In the first field in the Actions section, assign the rule to All Devices, Windows, or Web.
- Use the search function in the Select a Field field to select the field to be affected by the action.
- In the Display Message field, select Hide, Show, or Add Array Row.
If you chose Display Message, enter the message users should see when this action is triggered in the field at the right. - To add subsequent actions,click the blue plus icon (
 ) and repeat steps 1-3.
 - If you want to clone an action, click the clone icon on its row, and repeat steps 1-3.
Tip: See Rule Components and Structure for a definition of each option in this drop-down menu.
- Click Save.
Tip: It is always best practice to test your rule in both TripTix Web and Windows to ensure that the rule is working properly and effectively.
For State Administrators
When you have finished creating a business rule, generate a Schematron file so that the rule is implemented during the file validation process.
If you are a state administrator, you may wish contact Support for options on how to test changes or additions to state-level rules outside of the production environment.
Business Rule Fields
Rule Name
A descriptive name for the rule
Note: Rule names must be unique.
Level
The level of the system this rule should be implemented for; options include State or Department
Note: You may only create rules at your own administrative level.
Input type
Select either Event or Demographic to describe which option applies to the rule you are defining.
Note: If you change the rule type while editing, you lose the existing rule data.
Software version
Select either a TripTix or NEMSIS version to which the rules apply. The options in this list are dependent on the data standards your state and/or department accepts. By default, the primary data standard for the state is selected.
Tip: You can select multiple versions for this field. Selecting multiple versions can be helpful for departments undergoing an active transition from one data standard to another.
Note: The software version selected directly affects the options available in the IF section. If more than one standard is selected, only fields mutual to both versions are available; the element must exist in both versions.
TripTix
If this this rule is not part of the NEMSIS standard and is specific to TripTix, select the TripTix check box. By default, this check box is selected.
Tip: States should avoid having this box checked as rules containing TripTix fields cannot be exported in a schematron file. Unchecking this box hides all TripTix-specific fields from the rules editor pick lists.
IF/THEN Fields
Modify the IF/THEN fields to make correct IF/THEN statements for your rule.
-
Data Fields – Select a field option from the dropdown that corresponds with the ePCR data field you want to represent in your rule.
-
Arithmetic Operators – Indicate whether the data fields should be added (Plus), subtracted (Minus), multiplied (Times), or divided (Divided By).
-
Boolean Operators – Indicate the relationship between the data fields, such as Equals, Not Equal, Greater Than, Less Than, etc.
-
Statement Severity – Select Error or Warning to indicate how the system should flag fields when they do not meet the above criteria.
-
Action – Indicate what should happen in the system when the IF/THEN statement is broken. Indicate the type of device the rule applies to, the data field, and a message to display on the screen.
Add Requirement Group
Click this link if you would like to add an OR/AND statement to the IF statement. Note that if you change the logical operator from AND to OR, it changes it for all instances.
Add Else-If
If you would like to add an ELSE-IF statement after the IF/THEN statement, click this button.