Users Subtab—Administration
From the Users subtab, you can filter users by department, create a new user, edit a user's personal details, upload a photo for a user, and add a user already created on the Personnel page in department demographics. If you are a DOH Administrator, you can also add a user already created from billing.
To Filter Users by Department
- From any page, go to Administration> Users.
- Click in the Department search box and select the name of the department you want to filter users by.
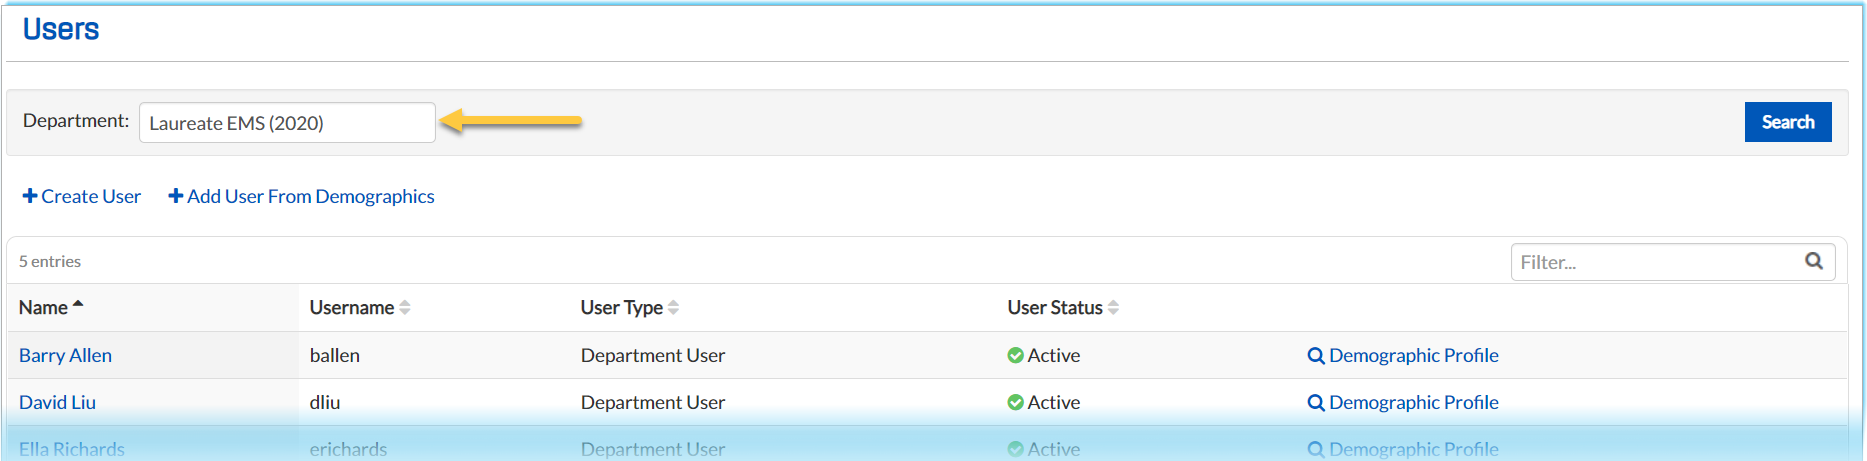
- Click Search. The resulting list of users shows only users within the selected department
To Create a New User
- From any page, go to Administration: Users.
- Click Create User. The Create User page opens.

- Enter information in the fields as appropriate. (Red asterisks indicate required fields.)
- Assign the user to applicable departments, by clicking Add Departments or by selecting from the Department field's dropdown list.
- Assign a user to applicable groups.
- Click Save.
To Add a User Previously Created In Personnel
If a user profile has already been created on the Personnel page.
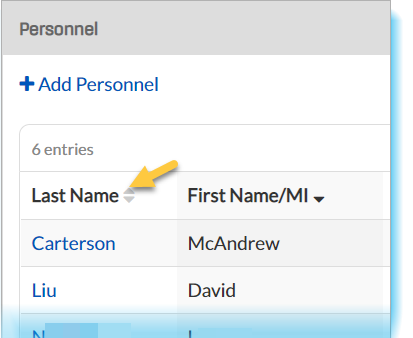
To View the Personnel Page
- Go to Administration> Departments. The Department page opens.
- Click View Demographics in the row of the department you wish to view.

|
 |
- Complete the fields as necessary. Some fields are filled with information automatically.
- Assign the user to applicable departments.
- Assign the user to applicable groups.
- Click Save.
User Fields
The following sections appear when you create a user. Complete all necessary fields and as many additional fields as you are able to further identify, categorize, and distinguish each user in the system.
Personal Information
The new user's personal information, including their full name. Specify whether they are a department, region, or state user, and indicate their home department. As soon as you indicate the user's department, the Primary Certification section opens.
Login Information
Login information for the user, such as a username, mobile number, and email address.
Note: A password is generated automatically and sent to the email address provided.
Primary Certification
Select the user's certification level from the drop-down list. Enter the user's certification number and, if able, their associated certification date, issue date, and expiration date.
Note: A certification type, number, date, issued date, and expiration date are required for proper billing of IMX Billing clients.
System Access
Click Add Departments to grant the user access to those departments. Then, click the Groups tab and select a department from the drop-down list. Click Add Groups to determine the user's access for the department. Repeat this process for all departments you selected. If you want to temporarily disable a user from accessing a department, select the department from the list and then click Deactivate.
If you want to permanently remove a department from the user's access, select the department from the list and then click Remove. You can add the department again, but any groups associated with the department originally must also be added again.
Tip: You can manage groups to determine the options available in this section.