You can customize which columns of the table on the Recent Records page should be displayed in a filter, and you can rearrange the order (left to right) of the columns. You can save these custom settings as a unique, reusable filter or use them once only.
In addition, if your department has created custom search criteria, those criteria are now included on the Recent Records window’s list of available columns.
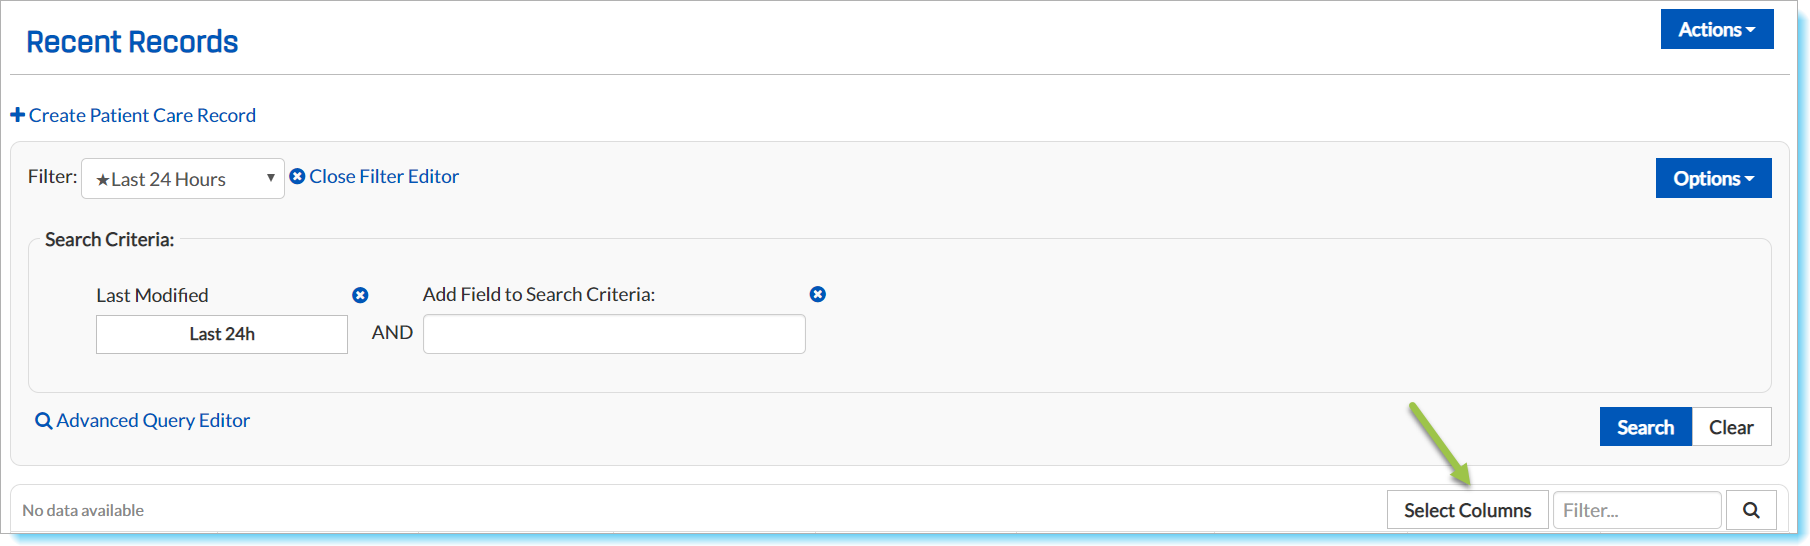
To Add or Remove Columns
- Go to RunRecords> Recent Records. Click Select Columns.
- Use the scrolling checklist to indicate which columns should appear in the table. (Tip: begin typing in the Search… field for faster navigation.)
- Tap OK to exit the checklist.
- To save the filter's settings for future use, tap Options> Save As or Options> Save.
To Change the Order of Columns
- Click and hold the header of the column you want to move, and drag it left or right to the desired location.
- To save the settings for the active filter click on Options> Save As or Options> Save.
Note: When you add or remove columns, those changes apply only to the current custom filter, which means that each custom filter can have its own column arrangement, if you choose.