You can view the Run Summary page for your own runs within the application. Each Run Summary page includes
- The PDF,
- Any addendum(s),
- Attachments,
- Completed forms,
- Comments, and
- Histories of revisions, access, faxes, and eTransfers.
If you discover that any element is missing from it (such as an attachment or form) you can add the element directly from the Run Summary page. If the added element impacts the PDF, the PDF updates to reflect the addition.
To View a Run Summary
- On the Home page, locate the run you want to view in the displayed list or use the Search Records function to reset the list.
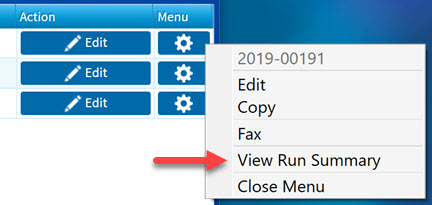
- Tap the Menu button (
 ) to the right of the run in question, and select View Run Summary from the popup.
The Run Summary window opens, displaying the PDF, attachments, QA/QI forms, comments and revision history.
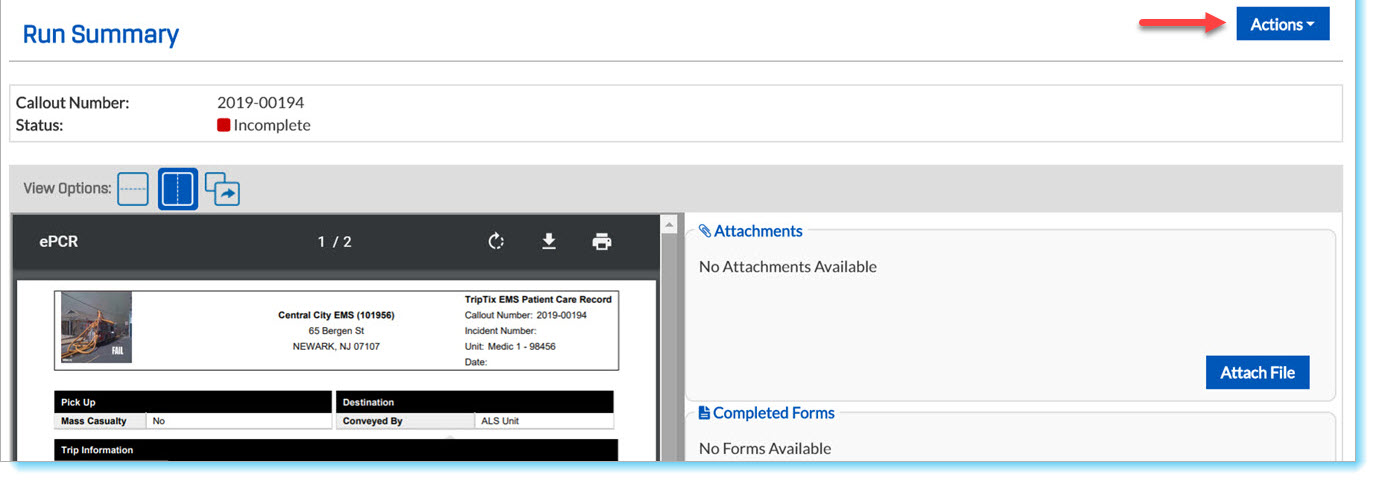
Available Actions

- View—Opens the PDF in a separate browser window
- Edit—Allows you to change or add elements to the run
- Delete—Deletes the entire run, not just the summary
- In the Delete Run Record window, provide a reason for the deletion and accept the warning message before tapping Delete.
- Copy—Opens the Copy Record window, which allows you to select which elements of the run to be copied
- Reassign—Allows you to change the ownership of the run record
- Manager Override—Allows users with manager-level permissions to forcibly finalize a run record.
View Options
At the top of the summary is a brief details section with the run's callout number and status. Directly below Status is the View Options field.
![]()
- The View Options field defaults to display the PDF at the left and the other elements of the run summary at the right—the side-by-side view:

- For a vertical scrolling view, click the left icon:

- To open the PDF in a new browser tab, click the arrow icon:

To Add Attachments
To attach a file, click Attach File. The Attach A File window opens. It has four fields: File, File Type, File Description, and Permission; all are required.
File
- Click Choose File.
- Browse your device for the desired attachment, and double-click it or click Open. Its name will appear next to Choose File.
File Type
Identify the format of the attachment. Either begin typing in the field, or select a file type from the picklist. The options are:
| - Audio Recording | - Other (Not Listed) |
| - Billing Information | - Patient Identification |
| - Diagnostic Image (CT, X-ray, US, etc.) | - Patient Refusal Sheet |
| - DNR/Living Will | - Picture/Graphic |
| - ECG/Lab Results | - Sound Recording |
| - Guardianship/Power of Attorney | - Video/Movie |
| - Healthcare Record |
File Description
Provide a very brief description of the file; it may be the same as the file name.
Permission
Indicate the intended location/permissible viewing audience for the attachment. Your choices are Administrative, Billing, and EPCR.
Completed Forms
A list of available forms, if any, appears here.
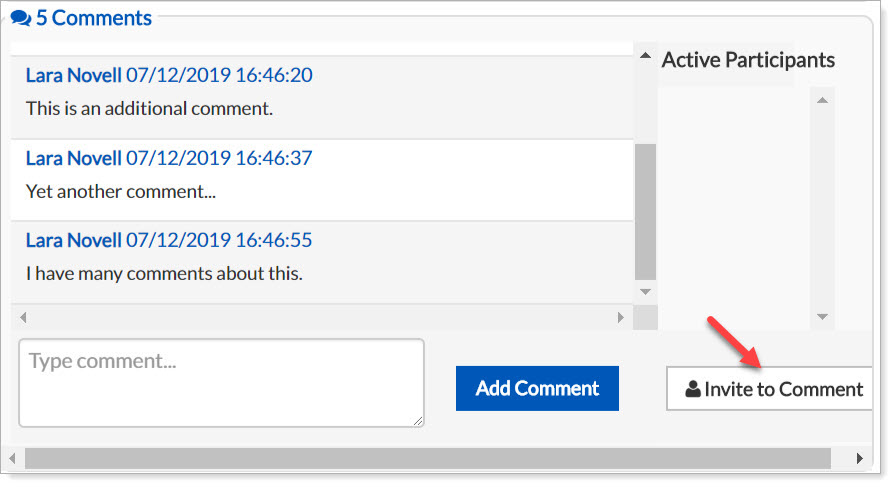
To Add a Comment
To add a comment, scroll down to the Comments section, below Completed Forms. As a default, No Comments is displayed in the upper-left corner of the section.

- Type your comment in the Type comment... field.
- When you are satisfied with the comment, click Add Comment. (Note: Posted comments cannot be deleted.) Your comment will appear above the Type comment... field with your name and the date and time.
- If you wish, you may request that another participant make comments on the record. To do so, tap Invite to Comment in the lower-right corner of this section. A list of your department's users opens.
To Send a Complete Run Summary
If the summary appears accurate and does not require further additions, send the run onward in the finalization process.
- Tap Actions at the upper-right corner of the page.
- Select Fax from the list.
The Fax Record window opens and allows you to specify where to send the run and what content to include in the fax.